

Last Updated: October 26, 2026
Quick Summary
Small batch custom envelope printing lets businesses order professional envelopes in quantities that match their actual needs, not massive bulk orders that sit in storage for years. You can test designs, respond to seasonal campaigns, or refresh branding without overcommitting inventory, which reduces waste and keeps materials current.
- The 10 Regular Envelope measuring 4-1/8" x 9-1/2" is the standard choice for business letters, invoices, and statements.
- A-7 Announcement Envelopes work best for formal invitations and announcements, while A-6 suits thank-you notes and personal touches.
- Submit print-ready artwork as a PDF in CMYK at 300 DPI with fonts embedded or converted to outlines.
- Small batch quantities typically start at 100 to 250 units; order your mailing count plus 10 to 15 percent overrun.
- Simple single-color jobs run in 5 to 7 business days; full-color jobs take 10 to 14 days plus 2 to 5 days for shipping.
Table of Contents
- Understanding Small Batch Custom Envelope Printing
- Selecting the Right Business Envelope Sizes for Your Mailing
- Meeting Envelope Printing Artwork Requirements
- Envelope Design Tips for Professional Branding
- How to Print Envelopes in Microsoft Word
- Preparing and Submitting Your Order
- Placing Your First Small Batch Order with Atlantic Envelope
- Frequently Asked Questions
Understanding Small Batch Custom Envelope Printing
Small batch custom envelope printing lets businesses order professional envelopes in quantities that match their actual needs, not massive bulk orders that sit in storage for years.
The advantage is flexibility: you can test designs, respond to seasonal campaigns, or refresh branding without overcommitting inventory, which reduces waste and keeps materials current.
Custom envelope printing combines your design with professional production, so mail looks intentional and polished before the recipient even opens it.
Selecting the Right Business Envelope Sizes for Your Mailing
Standard Options for Business Correspondence
The #10 Regular Envelope remains the workhorse of business mail. Measuring 4-1/8" x 9-1/2", it's designed to hold a standard 8-1/2" x 11" letter folded in thirds. This size works for invoices, statements, checks, and everyday office correspondence.
The #10 Regular Envelope is the default choice because postal carriers recognize it, sorting equipment handles it, and recipients expect it.

Announcement Sizes for Events and Special Mailings
The A-7 Announcement Envelope (5-1/4" x 7-1/4") is the most popular choice for formal invitations, wedding announcements, graduation notices, and holiday cards, accommodating A7 cards and 5" x 7" inserts.

The A-7 signals occasion and formality, and custom envelope printing, a subtle color or event logo on the flap, sets the tone before the invitation is opened.
The A-2 Announcement Envelope (4-3/8" x 5-3/4") pairs with A2 cards and note cards for gift enclosures, business cards, and informal invitations.
| Envelope Size | Dimensions | Best For |
|---|---|---|
| #10 Regular | 4-1/8" x 9-1/2" | Business letters, invoices, statements |
| A-7 Announcement | 5-1/4" x 7-1/4" | Formal invitations, announcements |
| A-6 Announcement | 4-3/4" x 6-1/2" | Thank-you notes, RSVP cards |
| A-2 Announcement | 4-3/8" x 5-3/4" | Gift enclosures, small notes |
Meeting Envelope Printing Artwork Requirements
File Format and Resolution Standards
Print-ready artwork prevents delays and reprints.
Most envelope printers accept PDF files in CMYK color mode, the professional printing standard. Convert files from design software like InDesign or Illustrator to CMYK before submitting; RGB files won't print accurately and may be rejected or require conversion that delays your order.
Artwork should be 300 DPI at final print size; lower resolution produces fuzzy logos and blurry text.
Color Modes and Print-Ready Files
Full-color printing uses CMYK and suits designs with photos, gradients, or multiple colors.
Two-color or spot-color printing delivers strong branding.
Black ink is a choice for a single-color logo or return address on white stock that stays professional.
Envelope Design Tips for Professional Branding
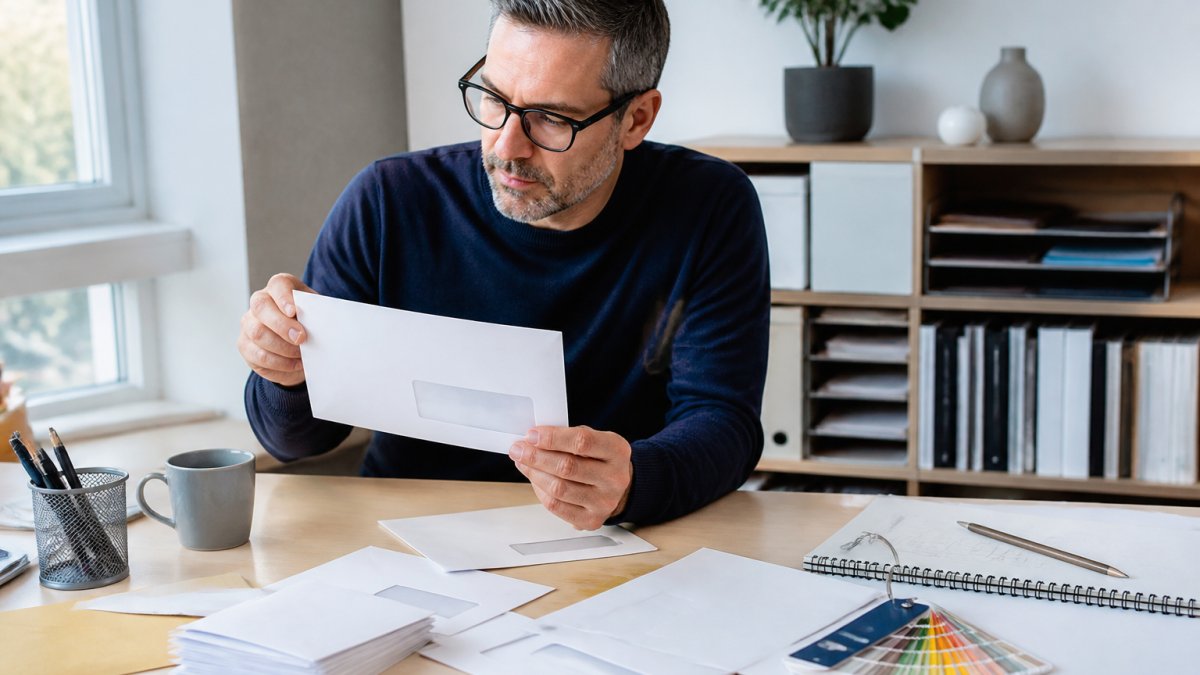
Every element on your envelope, placement, color, typography, communicates something about your business before the recipient opens it. Explore creative envelope design strategies to go beyond the basics and discover how to make your correspondence stand out.
Position your return address in the upper left corner, where postal carriers and recipients expect it.
Sans-serif fonts like Arial or Helvetica reproduce cleanly at small sizes; avoid thin, delicate typefaces that break apart during printing.
A single ink color and two colors add visual interest; ensure sufficient contrast between ink and stock so text stays readable.
USPS guidelines for business mail formatting provide specific requirements for address placement and formatting.
How to Print Envelopes in Microsoft Word
Microsoft Word is useful for laying out a simple design and producing a proof before sending artwork to a commercial printer. It is not a production tool for large runs, but for a short batch it helps you preview placement and catch obvious errors.
Setting Up the Document and Page Layout
Open Word and go to Mailings > Envelopes. Enter your addresses, then choose Options to select your envelope size; Word includes common sizes such as #10 and A7, or choose Custom and enter the dimensions. The preview shows the address block positioned, a quick way to check that your return address fits in the upper left corner.
If you are designing rather than addressing, start from a blank document and set the page size under Layout > Size.
Adding Return Address, Logo, and Recipient Elements
Type the return address in the upper left at 8 to 10 points so it stays legible without crowding. Insert your logo with Insert > Pictures and resize it near the return address or on the flap, avoiding folds or seams where ink can crack or misregister.
Leave the recipient area blank if the printer will add variable addresses, or type a single address for a one-off piece. For a mailing list, use Mail Merge to pull names and addresses from a spreadsheet and keep formatting consistent.
Exporting a File Your Printer Can Use
Treat Word output as a draft. Save a PDF via File > Save As, then ask your printer whether it meets their specifications; Word PDFs often export in RGB rather than CMYK, may lack bleed, and can embed fonts inconsistently, so the printer may need to rebuild the file.
When Word Is Enough and When to Use Design Software
Word suffices for a simple return address, a single-color logo, and a text-only design on a standard size.
A practical middle path is to design in Word for layout approval, then have your printer's prepress team rebuild the final file to their template. Ask before you order who is responsible for file preparation and whether it affects your schedule.
Printing a Small Batch In-House vs. Sending It Out
Office printers work for a handful of pieces but not small batch production: they handle only light card stocks, often smudge on coated envelopes, and cannot print reliably near edges or on flaps. For 100 or more, a commercial digital press gives consistent color, handles heavier stocks, and prints panels an office printer cannot reach.
Preparing and Submitting Your Order
A small batch envelope order moves through a predictable sequence: choose quantity, configure the print run, prepare artwork, request a proof, approve, and schedule production. Most problems on short runs come from skipping a step or discovering a mismatch late.
Step 1: Choose a Quantity That Matches Your Mailing List
Small batch quantities usually start at 100 to 250 units. Order your current mailing count plus a 10 to 15 percent overrun for spoilage, address corrections, and damaged pieces. If you are testing a design or campaign, order the smallest quantity your printer allows and reorder once you know the response.
Ask your printer two questions before you commit: what is the minimum order quantity for your chosen size and stock, and does the unit rate change at the next quantity break? Many printers price in tiers, so if you expect a second mailing within a few months, ordering at the next tier is often the better value.
Step 2: Configure the Print Run
Configuration means deciding four things: envelope size, paper stock, ink coverage, and which panels print. Size and stock come first because they constrain everything else. Ink coverage drives production method and cost: a return address and logo on the front is light coverage, while a full-bleed design across the front and flap is heavy coverage that may require a different press or longer setup.
Decide early whether you need printing on the flap, the back, or an interior liner. Each printed panel adds a setup step that is a larger share of the total on small runs, so if front-only printing works, say so up front to shorten the schedule.
Step 3: Prepare Artwork to the Printer's Template
Request the printer's envelope template before you design. It shows trim size, bleed, safe area, flap position, and seams so you can position artwork where it will print.
Supply a print-ready PDF in CMYK at 300 DPI at final size with fonts embedded or converted to outlines. If unsure, ask for a preflight check; most printers flag low resolution, RGB color, missing bleed, or unembedded fonts before the job reaches the press.
Step 4: Request and Review a Proof
Ask for the proof format your printer offers: a digital PDF proof, a physical proof on the actual stock, or both. A digital proof confirms layout, spelling, and placement; a physical proof confirms color and stock feel.
Mark up corrections in writing and ask for a revised proof before approving; a reprint still costs time you may not have before a mailing date.
Step 5: Approve, Schedule, and Plan for Shipping
Once you approve the proof, production is scheduled. Simple single-color jobs often run in about 5 to 7 business days; full-color or multi-panel jobs can take 10 to 14 days. Shipping adds 2 to 5 business days, so work backward from your mailing date and add at least a week for proofing and transit.
A Transparent Quote Checklist
When you request a quote, include envelope size and style, paper stock, quantity, number of printed panels, number of ink colors, whether you need a proof, your in-hands date, and your shipping destination.
USPS business mail preparation guidelines are worth reviewing before you finalize quantity and address placement, since postal requirements can affect both design and mailing cost.
Placing Your First Small Batch Order with Atlantic Envelope
Small batch custom envelope printing starts with choosing your envelope size, design, and order quantity.
Select your envelope size based on your mailing needs: a #10 Regular Envelope works for standard business correspondence, while announcement sizes like the A-7 suit events and special mailings. We offer all these options in quantities that fit your actual requirements, not massive minimums that force overordering.
Prepare your artwork in CMYK at 300 DPI, including your return address, logo, and any custom design elements.
Order Online to start your small batch order. Upload your artwork, select your envelope size and quantity, and review your proof. Once you approve the proof, we move into production.
The difference between professional correspondence and amateur mail often comes down to one detail: the envelope. When you invest in custom envelope printing, every outgoing piece signals that your business takes its image seriously. Small Business Administration guidance on business branding emphasizes that consistent, professional presentation builds trust with clients and prospects.
Frequently Asked Questions
What is the minimum order for small batch custom envelope printing?
Small batch custom envelope printing accommodates businesses of all sizes, from home-based professionals to growing companies. Atlantic Envelope serves customers ordering small quantities, making it possible to test designs or handle modest mailing volumes without committing to bulk quantities. The flexibility to order what you need, whether a small batch or larger volume, means you can control costs while maintaining professional branded envelopes for your correspondence.
How do I prepare artwork for custom envelope printing?
Artwork for custom envelope printing must be print-ready, typically in PDF or high-resolution image format (300 DPI minimum). Include all design elements you want printed: logo, return address, recipient address area, and any decorative elements. Ensure your file uses CMYK color mode for accurate color reproduction and includes proper margins to avoid cutting off important details. Submit your file through your printer's upload system and request a digital proof before production begins to verify placement and color accuracy.
What envelope size should I choose for business correspondence?
The #10 Regular Envelope (4-1/8" x 9-1/2") is the standard for business correspondence, invoices, statements, and everyday office mail. It accommodates an 8-1/2" x 11" letter folded in thirds. For smaller items like greeting cards or announcements, consider the A-6 (4-3/4" x 6-1/2") or A-7 (5-1/4" x 7-1/4") sizes. Choose based on what you're mailing and the impression you want to create, #10 envelopes project professionalism for formal business communications.
Can I design custom envelopes in Microsoft Word before sending to print?
Yes, you can design custom envelopes in Microsoft Word using the built-in envelope feature under the Mailings tab. Set up your page size to match your chosen envelope dimensions, add your logo and return address, and position the recipient address field. However, for professional printing results, export your Word design as a high-resolution PDF (300 DPI) before submitting to your envelope printer. This ensures colors print accurately and all elements stay within the printable area.
